|
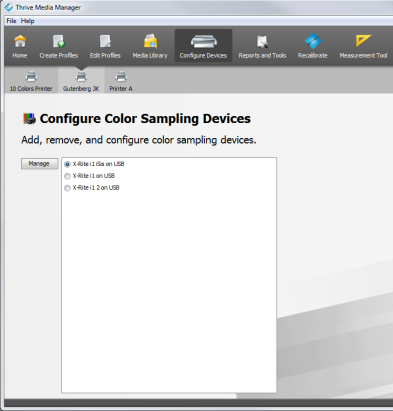
From the Manager Toolbar, click Configure Devices icon, then select [Configure Color Sampling Devices] button to add or configure a color sampling device. (Figure 1) Click [Manage] button after selecting an existing device, or to add a new one clicking [Add…] button in the “Measurement Devices” dialog.
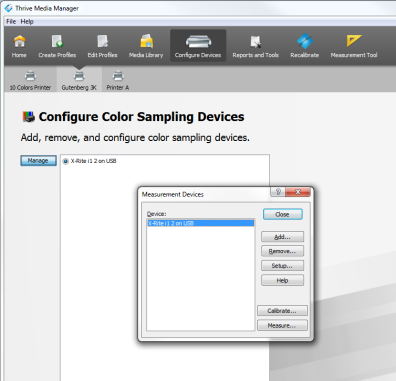
Use the “Measurement Devices” dialog (Figure 2) to add, remove, and configure the devices you use to read in densitometric or colorimetric data. You must add a device before printing calibration or profile swatches.
Add -
Click [Add...] button to add a color device you wish to use to read in swatches. A new dialog opens (Figure 3) where a new device can be selected and configured. -
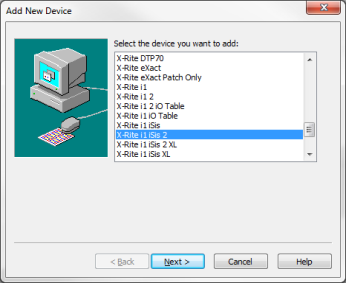
Click [Add...] button to add a color device you wish to use to read in swatches. A new dialog opens (Figure 3) where a new device can be selected and configured.
Remove -
Click [Remove...] button to remove a color device from the device list. Removing a color device from this list does not uninstall the device, and you may add the color device back to the list at any time by clicking [Add...] button. -
Click [Remove...] button to remove a color device from the device list. Removing a color device from this list does not uninstall the device, and you may add the color device back to the list at any time by clicking [Add...] button.
Setup -
Click [Setup...] button to configure the color device options. If the [Setup] button is disabled, the color device does not have any settings that can be configured through Media Manager. -
Click [Setup...] button to configure the color device options. If the [Setup] button is disabled, the color device does not have any settings that can be configured through Media Manager.
Calibrate -
Click [Calibrate...] button to calibrate your color device. If the [Calibrate] button is disabled, the device doesn’t support calibration. -
Click [Calibrate...] button to calibrate your color device. If the [Calibrate] button is disabled, the device doesn’t support calibration.
Measure - Use the device to measure a single patch. - Use the device to measure a single patch.
TIP: To learn about Color Device Geometries go to this Thrive article and click the Maxi-imize tab.
 Related Topics Related Topics
|
 Sampling Devices
 Related Topics

